
Building your own computer can be an exciting and rewarding experience. Whether you’re assembling a gaming PC, a workstation, or a budget-friendly machine, having the right knowledge is crucial. This guide will walk you through the process step by step, from choosing components to assembling and setting up your system.
1. Why Build Your Own PC?
Building a computer has several advantages:
- Customization: Choose exactly the components you need.
- Better Performance: Optimize your system for gaming, work, or general use.
- Cost-Effectiveness: Avoid paying extra for pre-built systems.
- Learning Experience: Gain valuable knowledge about how computers work.
2. Choosing the Right Components
Before starting the assembly, you need to select the right parts. Here’s what you need:
a) Processor (CPU)
The CPU is the brain of your computer. Choose between:
- Intel: Strong single-core performance (good for gaming).
- AMD: More cores and better multitasking (great for streaming and content creation).
b) Motherboard
The motherboard determines compatibility with other components. Consider:
- Chipset compatibility: Ensure it supports your CPU.
- Expansion slots: Check for enough RAM and PCIe slots.
- Connectivity: Look for USB ports, Wi-Fi, and Bluetooth options.
c) Memory (RAM)
RAM helps with multitasking and speed. Consider:
- 8GB: Minimum for general use.
- 16GB: Ideal for gaming and work.
- 32GB+: Best for video editing and high-performance tasks.
d) Storage (SSD vs. HDD)
- SSD (Solid State Drive): Faster and more reliable. Recommended for OS and frequently used programs.
- HDD (Hard Disk Drive): Larger storage capacity but slower. Best for storing large files.
e) Graphics Card (GPU)
- Dedicated GPU: Essential for gaming and video editing (NVIDIA, AMD).
- Integrated GPU: Sufficient for basic tasks (found in some CPUs).
f) Power Supply Unit (PSU)
Choose a reliable 80+ certified power supply with enough wattage for your components.
g) Case (Cabinet)
Select a case that fits your components, has good airflow, and supports cable management.
h) Cooling System
- Air cooling: Budget-friendly and efficient for most builds.
- Liquid cooling: Better for high-performance systems with overclocking.
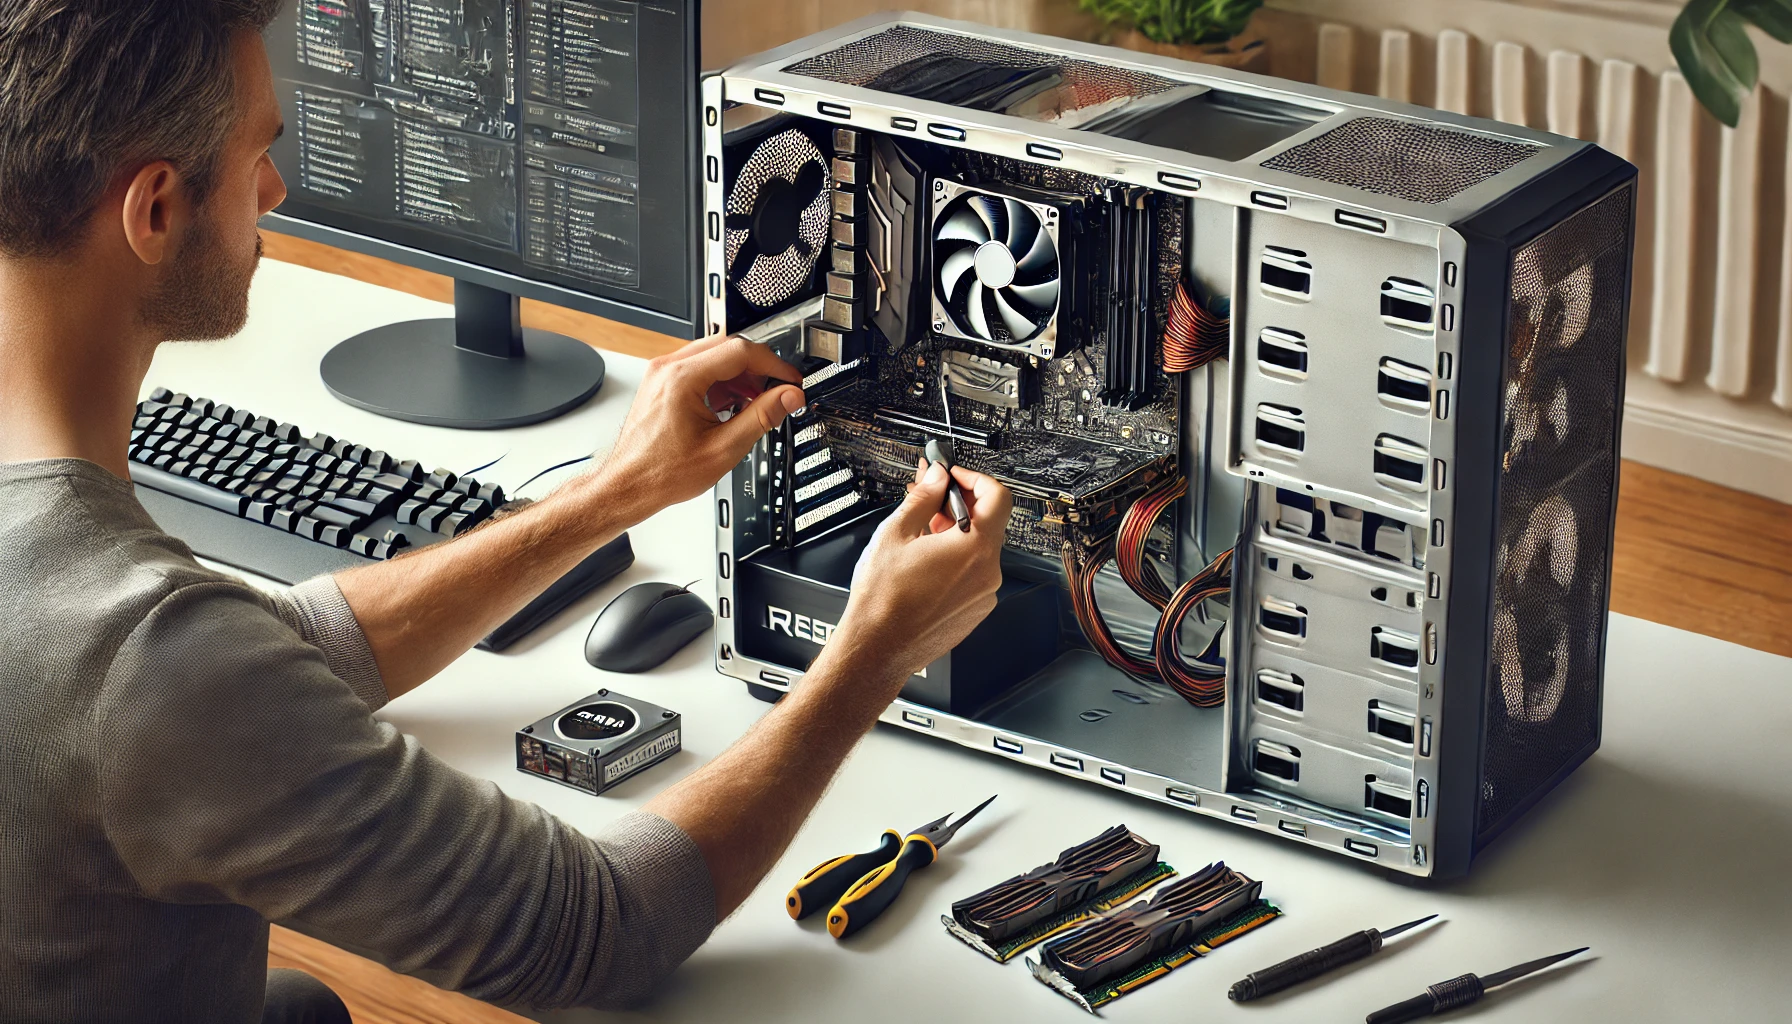
3. Assembling Your PC
Step 1: Preparing Your Workspace
- Work on a clean, flat surface.
- Use an anti-static wrist strap to avoid damaging components.
- Have a Phillips screwdriver ready.
Step 2: Installing the CPU
- Locate the CPU socket on the motherboard.
- Align the CPU correctly (match the gold triangle).
- Secure it by closing the retention bracket.
Step 3: Installing RAM
- Open the RAM slots.
- Insert RAM sticks in dual-channel mode for better performance.
- Ensure they click into place.
Step 4: Mounting the Motherboard
- Place standoffs in the case.
- Align the motherboard and secure it with screws.
Step 5: Installing Storage Drives
- For SSDs (NVMe): Install in the M.2 slot and secure with a screw.
- For SATA drives: Connect to the motherboard using SATA cables.
Step 6: Installing the GPU
- Insert the graphics card into the PCIe slot.
- Secure it with screws and connect power cables if needed.
Step 7: Connecting the Power Supply
- Attach the 24-pin motherboard connector.
- Connect the 8-pin CPU power cable.
- Plug in PCIe power cables for the GPU.
Step 8: Cable Management
- Use zip ties to organize cables.
- Ensure good airflow for better cooling.
4. First Boot and BIOS Setup
Powering On for the First Time
- Double-check all connections.
- Power on the system and check for display output.
Entering BIOS/UEFI
- Press Delete or F2 during boot to access BIOS.
- Check if all components are detected.
- Enable XMP for optimal RAM performance.
5. Installing the Operating System
Windows Installation
- Create a bootable USB drive with Windows 10/11.
- Boot from the USB and follow on-screen instructions.
- Install necessary drivers after installation.
Linux Installation (Optional)
- Choose a distribution (Ubuntu, Fedora, Arch).
- Follow installation steps similar to Windows.
6. Optimizing Performance
- Update drivers: Install the latest GPU, chipset, and motherboard drivers.
- Monitor temperatures: Use software like HWMonitor to check cooling efficiency.
- Optimize startup programs: Disable unnecessary apps in Task Manager.
7. Common Troubleshooting Tips
- No power? Check PSU connections and power switch.
- No display? Reseat GPU and RAM.
- Overheating? Reapply thermal paste and improve airflow.
Final Thoughts
Building a PC is a rewarding experience that gives you full control over your hardware. Whether for gaming, work, or everyday use, following this guide will ensure a smooth and successful build. If you take your time, double-check compatibility, and handle components carefully, you’ll have a powerful system ready to use.