
A custom water-cooled gaming PC is the ultimate choice for enthusiasts looking to achieve maximum performance, lower temperatures, and a stunning aesthetic. Unlike traditional air cooling, a custom liquid cooling loop efficiently dissipates heat, allowing for higher overclocks and quieter operation. This guide will take you through choosing the right components, assembling a custom loop, and maintaining your system to ensure optimal performance and longevity.
1. Why Choose a Custom Water-Cooling Loop?
While air cooling and AIO (all-in-one) liquid coolers are effective, custom water cooling offers significant advantages:
Performance Benefits
✅ Superior Cooling Efficiency – Keeps CPU and GPU temperatures lower than air or AIO coolers.
✅ Better Overclocking Potential – More thermal headroom allows for higher clock speeds.
✅ Quieter Operation – Large radiators and pumps reduce fan noise compared to high-speed air cooling.
Aesthetic and Build Benefits
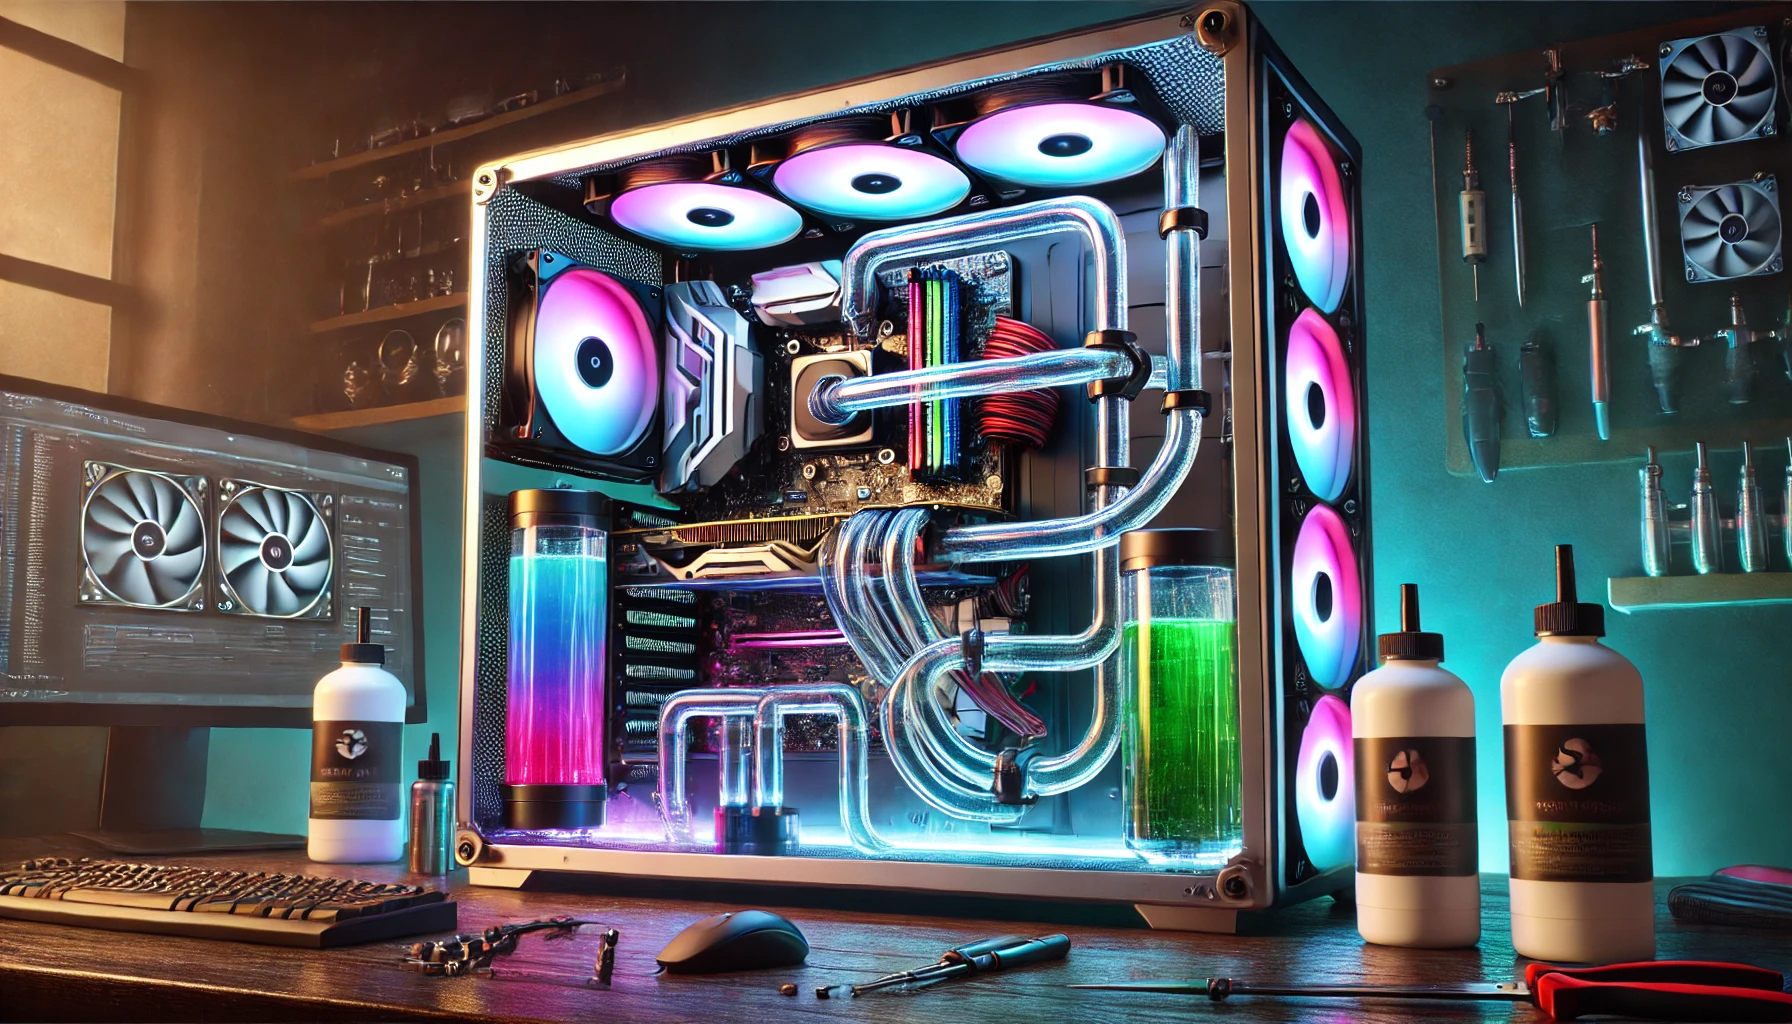
✅ Premium Customization – Choose tubing, coolant colors, RGB lighting, and fittings to match your build.
✅ Clean Look – A well-routed liquid cooling loop gives your PC a sleek, high-end appearance.
✅ Tip: If you’re aiming for a high-performance, visually stunning build, custom water cooling is worth the investment.
2. Essential Components of a Custom Water-Cooling Loop
A custom loop requires several specialized components. Each plays a crucial role in cooling efficiency.
1. CPU & GPU Water Blocks
- Transfers heat from components to coolant.
- Choose the right block for your CPU/GPU model (EKWB, Corsair, Alphacool).
2. Radiators
- Dissipates heat from coolant into the air.
- Larger radiators (360mm+) offer better cooling efficiency.
- Common sizes: 120mm, 240mm, 360mm, 480mm.
✅ Tip: Use at least a 240mm radiator for CPU-only loops or 360mm+ for CPU + GPU cooling.
3. Pump & Reservoir
- The pump circulates coolant through the system.
- The reservoir holds extra coolant and makes refilling easier.
- Combo units (Pump + Reservoir) save space and improve aesthetics.
✅ Tip: Choose a strong pump like the D5 or DDC models for better coolant flow.
4. Coolant
- Distilled Water + Biocide Additives – Budget-friendly, prevents algae growth.
- Pre-Mixed Coolant (Colored or Clear) – Custom aesthetic, but requires maintenance.
✅ Tip: Avoid automotive coolants as they can clog water blocks over time.
5. Tubing & Fittings
- Soft Tubing (Easier to Install) – More flexible, cheaper.
- Hard Tubing (Premium Aesthetic) – Requires bending, but looks clean and modern.
- Compression Fittings (Best for Sealing) – Prevent leaks and ensure a secure fit.
✅ Tip: If using hard tubing, get a heat gun and bending kit for precise angles.
6. Fans for Radiators
- Static pressure fans (like Noctua NF-A12, Corsair ML120) provide the best cooling.
- Avoid regular case fans, as they don’t push air efficiently through radiators.
3. Planning Your Custom Water-Cooling Loop
Single vs. Dual Loop Cooling
- Single Loop (Most Common) – CPU and GPU share the same coolant loop.
- Dual Loop (More Efficient) – Separate cooling loops for CPU & GPU, but more expensive.
Choosing the Right Radiator Placement
- Top-mounted radiators → Best for exhaust, removes heat efficiently.
- Front-mounted radiators → Better for intake, brings in cool air but increases internal heat.
- Bottom-mounted radiators → Works well in large cases but may restrict airflow.
✅ Tip: Use a push-pull fan setup (fans on both sides of the radiator) for maximum cooling efficiency.
4. Step-by-Step Guide to Building a Custom Water-Cooled PC
Step 1: Prepare Your Workspace
- Work on a clean, well-lit surface.
- Wear an anti-static wristband to protect components.
- Test all components before installation to ensure functionality.
Step 2: Install CPU & GPU Water Blocks
- Remove the stock cooler and thermal paste.
- Apply new thermal paste (pea-sized dot in the center).
- Secure the water block onto the CPU/GPU using included screws.
Step 3: Mount the Radiator(s) and Fans
- Attach the radiator to the case in a position that allows optimal airflow.
- Install the fans in a push or push-pull configuration for better heat dissipation.
Step 4: Install the Pump and Reservoir
- Position the pump+reservoir combo in an accessible location.
- Secure it using mounting brackets or velcro.
Step 5: Connect Tubing and Fittings
- Measure and cut tubing to the correct length.
- Insert tubing into compression fittings and tighten them securely.
- Route tubing to avoid sharp bends and kinks.
✅ Tip: If using hard tubing, heat the ends slightly before inserting into fittings.
Step 6: Fill and Leak Test the System
- Fill the reservoir with coolant slowly.
- Use a jumper cable (24-pin ATX jumper) to power the pump without turning on the PC.
- Check for leaks at all connection points.
- Let the loop run for at least 12–24 hours before use.
✅ Tip: If you notice leaks, tighten fittings and replace O-rings if necessary.
5. Optimizing Your Water-Cooling Setup
Monitor Coolant Flow and Temperatures
- Use software like HWMonitor or Corsair iCUE to check CPU/GPU temps.
- Install a temperature sensor in the loop for real-time monitoring.
Adjusting Fan and Pump Speeds
- Set pump speed to 50-70% to balance cooling and noise.
- Increase fan speeds under load, reduce them when idle.
✅ Tip: A custom fan curve ensures quiet operation without compromising cooling.
6. Maintaining Your Water-Cooled PC
How Often Should You Maintain It?
- Every 3–6 Months: Check coolant levels and clean dust filters.
- Every 12 Months: Drain and refill coolant, clean radiators, and flush tubing.
- If Coolant Becomes Cloudy: Replace with fresh coolant to prevent clogs.
How to Drain and Refill Coolant
- Turn off the PC and unplug the power supply.
- Place a drain valve at the lowest point in the loop.
- Open the reservoir cap to release pressure and drain coolant.
- Flush the system with distilled water before refilling.
✅ Tip: If using colored coolant, flush the system completely before changing colors to prevent contamination.
7. Is Custom Water Cooling Worth It?
Pros:
✅ Superior cooling performance
✅ Allows for extreme overclocking
✅ Stunning aesthetics and customization
✅ Quieter operation compared to air cooling
Cons:
❌ Higher cost than air or AIO cooling
❌ More complex installation and maintenance
❌ Potential for leaks if not assembled properly
✅ Tip: If you enjoy customization and building high-performance PCs, a custom water-cooled setup is worth the investment.
Final Thoughts
Building a custom water-cooled gaming PC provides the best cooling performance, lower noise levels, and premium aesthetics. While it requires planning, assembly, and maintenance, the thermal efficiency and visual appeal make it the ultimate upgrade for enthusiasts. Whether you’re chasing better overclocks, silent operation, or a showcase-worthy build, a custom loop is the perfect way to take your PC to the next level.