
Drivers are essential for ensuring that your hardware components communicate properly with your operating system. Without the correct drivers, your PC may experience performance issues, hardware malfunctions, or even system crashes. Whether you’re setting up a new PC or updating an existing one, installing and maintaining up-to-date drivers is crucial for stability and performance. This guide will walk you through the entire process, from installing essential drivers to keeping them updated.
1. What Are Drivers and Why Are They Important?
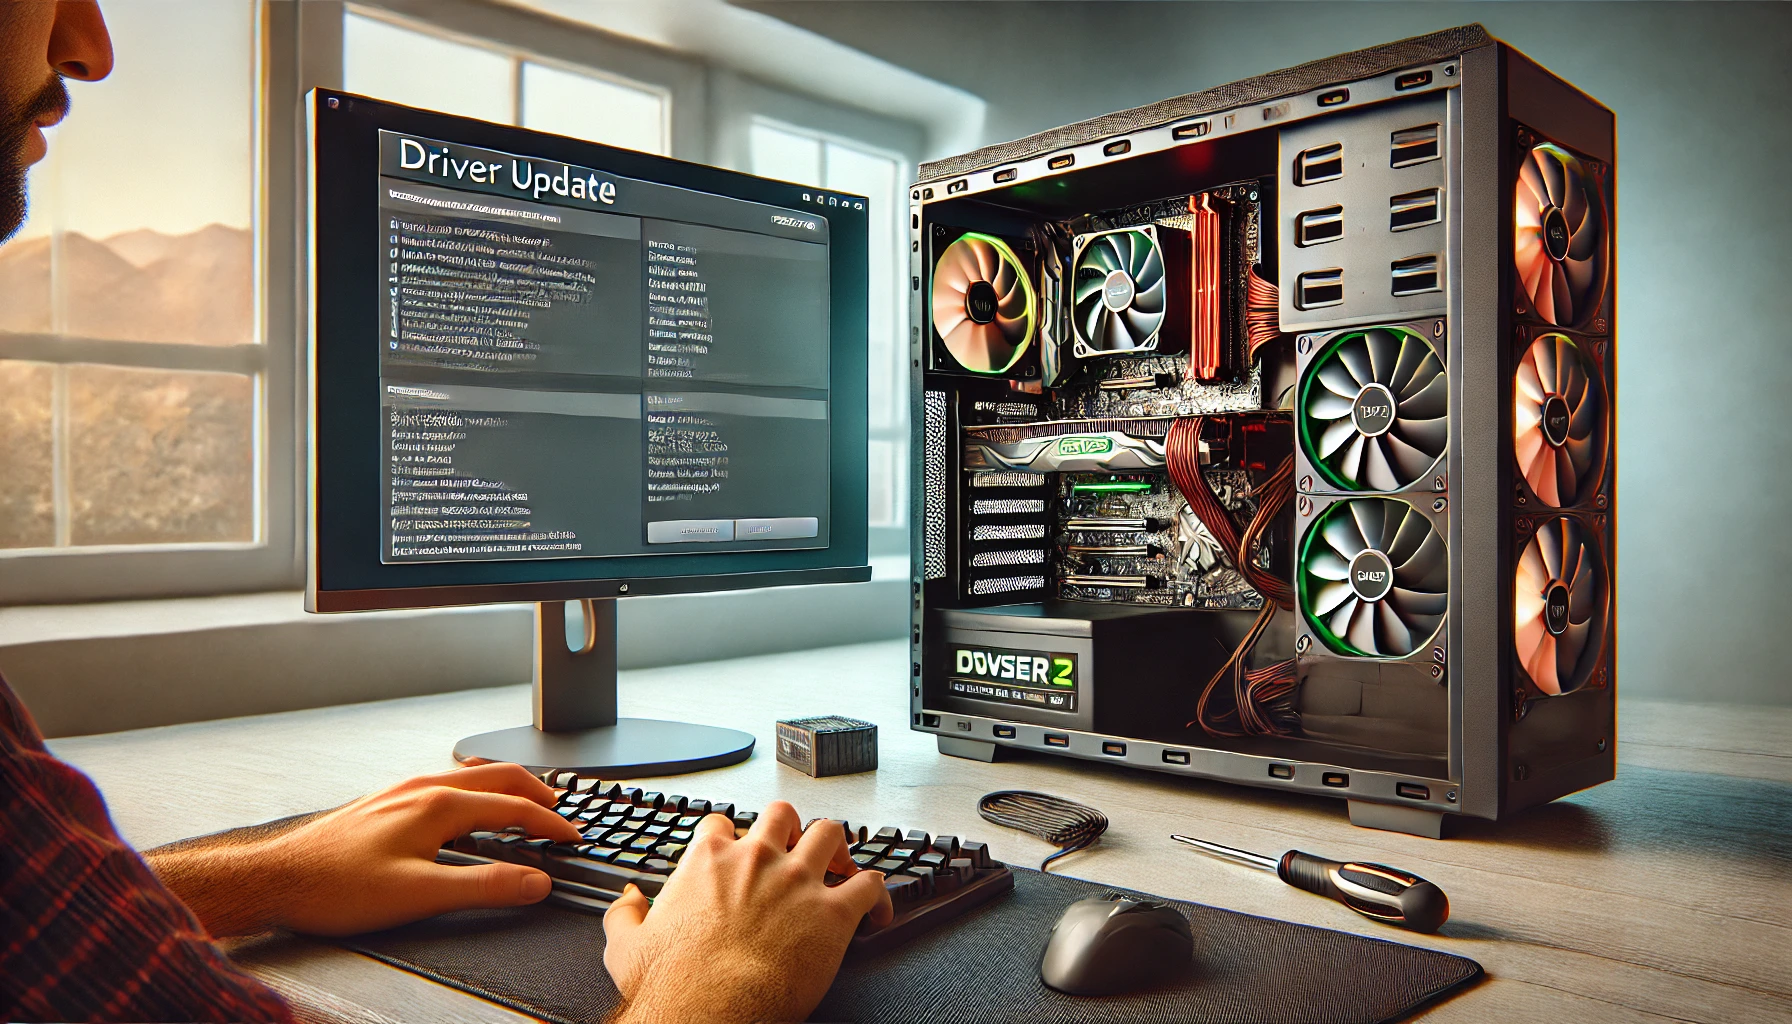
Drivers are software components that allow your operating system to interact with hardware devices like the motherboard, graphics card, network adapter, and peripherals. Without the proper drivers, your system may not recognize or fully utilize these components. Updating drivers regularly can improve performance, fix bugs, and enhance security.
Some drivers, such as chipset and graphics drivers, are critical for overall system efficiency, while others, like printer drivers, are only necessary if you use specific hardware. Ensuring that all drivers are correctly installed and up to date helps your PC run smoothly.
2. Essential Drivers You Need to Install
After installing Windows, you need to install several key drivers for your system to function properly. The most important ones include:
- Chipset Drivers: Help the CPU communicate with the motherboard.
- Graphics Card Drivers: Ensure smooth gaming and high-resolution displays.
- Network (LAN/Wi-Fi) Drivers: Enable wired and wireless internet connectivity.
- Audio Drivers: Improve sound quality and enable features like surround sound.
- Storage Drivers: Optimize SSD and HDD performance.
- Peripheral Drivers: Required for devices like printers, webcams, and gaming controllers.
✅ Tip: Always install chipset and GPU drivers first, as they have the greatest impact on system performance.
3. How to Install Motherboard Drivers
Motherboard drivers are essential for system stability and should be installed right after setting up Windows. Here’s how to do it:
Step 1: Find Your Motherboard Model
- If you built your PC, check the box or manual for the exact model name.
- If you’re unsure, open Command Prompt and type:
wmic baseboard get product, manufacturerThis will display your motherboard’s manufacturer and model.
Step 2: Download the Latest Drivers
- Visit the official website of your motherboard manufacturer (ASUS, MSI, Gigabyte, ASRock).
- Navigate to the Support or Downloads section.
- Select your motherboard model and download the latest chipset, LAN, audio, and storage drivers.
Step 3: Install the Drivers
- Run the downloaded .exe files and follow the installation instructions.
- Restart your PC after installing each driver to ensure proper functionality.
✅ Tip: If your internet isn’t working, install LAN or Wi-Fi drivers first using a USB drive.
4. How to Install Graphics Card Drivers
Your graphics card (GPU) requires specific drivers to function correctly, especially for gaming and creative work.
For NVIDIA Graphics Cards
- Visit the official NVIDIA website and download GeForce Experience.
- Open GeForce Experience and go to the Drivers tab.
- Click Check for Updates and install the latest driver.
- Restart your PC after installation.
For AMD Graphics Cards
- Visit the official AMD website and download AMD Adrenalin Software.
- Open the software and go to the Drivers & Software section.
- Click Check for Updates and install the latest driver.
For Intel Integrated Graphics
- Visit the Intel website and download the Intel Graphics Command Center.
- Use it to check for updates and install the latest drivers.
✅ Tip: If you’re experiencing crashes in games, try using “Clean Install” mode in NVIDIA or AMD software.
5. How to Install Network and Audio Drivers
Installing Network Drivers (Wi-Fi & Ethernet)
- If your motherboard has Wi-Fi built-in, download the Wi-Fi driver from the motherboard manufacturer’s website.
- For wired connections, install the LAN driver to enable Ethernet.
Installing Audio Drivers
- Most motherboards use Realtek audio drivers. Download the latest version from your motherboard’s website.
- After installing, restart your PC and adjust audio settings in the Realtek Audio Console or Windows Sound Settings.
✅ Tip: If your microphone or speakers are not working, updating audio drivers often fixes the issue.
6. How to Install Peripheral and Printer Drivers
Installing Mouse, Keyboard, and Controller Drivers
- Most peripherals use plug-and-play drivers, meaning Windows will install them automatically.
- For gaming peripherals, install software like Razer Synapse, Logitech G HUB, or Corsair iCUE to customize settings.
Installing Printer and Scanner Drivers
- Connect your printer via USB or Wi-Fi.
- Open Settings > Devices > Printers & Scanners and click Add a Printer.
- If Windows does not automatically install drivers, visit the printer manufacturer’s website to download the latest software.
✅ Tip: Some printers require firmware updates for full functionality—check the manufacturer’s website for updates.
7. How to Update Drivers Automatically
You don’t have to manually check for driver updates all the time. Windows and third-party software can help automate the process.
Method 1: Using Windows Update
- Open Settings > Windows Update.
- Click Check for Updates.
- If any driver updates are available, install them.
Method 2: Using Device Manager
- Right-click Start and select Device Manager.
- Expand the category (e.g., Display Adapters for GPUs).
- Right-click the device and select Update Driver > Search Automatically.
Method 3: Using Manufacturer Software
- NVIDIA: GeForce Experience
- AMD: Adrenalin Software
- Intel: Intel Driver & Support Assistant
✅ Tip: Avoid using third-party driver update tools, as they can install incorrect or outdated drivers.
8. How to Roll Back or Reinstall Drivers If Something Goes Wrong
Sometimes, a new driver update can cause problems like crashes, lag, or device malfunctions. If that happens, rolling back to a previous version can help.
Method 1: Roll Back to a Previous Driver
- Open Device Manager.
- Right-click the affected device and select Properties.
- Go to the Driver tab and click Roll Back Driver (if available).
Method 2: Reinstall the Driver
- Download the previous driver version from the manufacturer’s website.
- Uninstall the faulty driver in Device Manager.
- Install the older version manually.
✅ Tip: If your PC crashes after a GPU driver update, try booting into Safe Mode and rolling back the driver.
9. Keeping Drivers Updated for Long-Term Performance
Regularly updating drivers ensures that your PC stays optimized and free from security vulnerabilities. Follow these best practices:
- Check for driver updates every 1-2 months.
- Enable automatic updates for GPU and chipset drivers.
- Create a restore point before installing major driver updates.
- Keep a backup of essential drivers on a USB drive.
✅ Tip: If your PC is running smoothly, you don’t need to update drivers frequently unless a new version fixes a known issue.
Final Thoughts
Installing and updating drivers is a critical part of maintaining a stable and efficient PC. Start with chipset and GPU drivers, then move on to network, audio, and peripheral drivers. By keeping your drivers up to date, you ensure better performance, fewer crashes, and improved compatibility with the latest software.